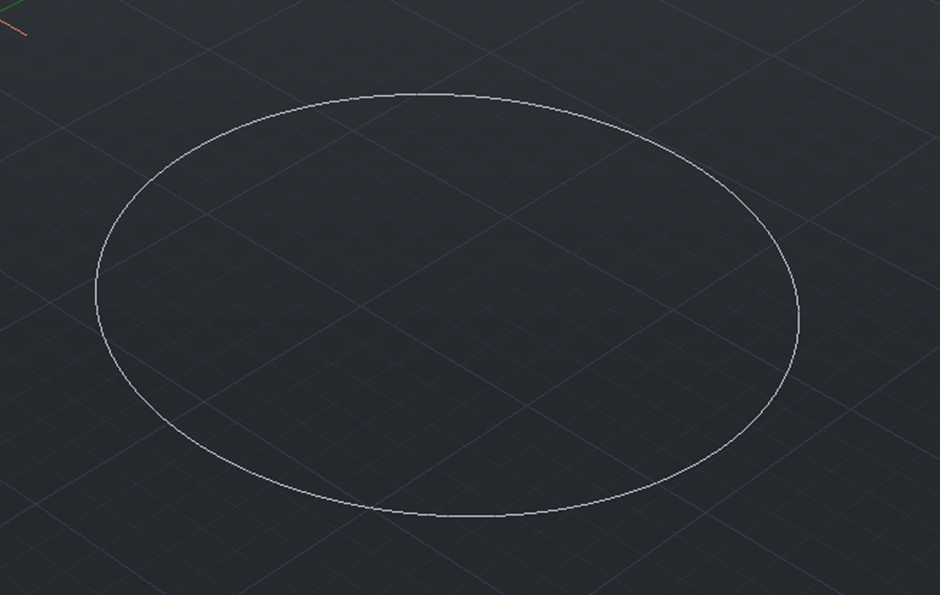
For the next two tasks, I had to create a suitable household item and map materials to make it look more realistic. The first thing I had to do was find a fairly simple object that I could create in AutoCAD as a 3D model. What I did was I went into the kitchen to look for inspiration and I found a measuring cup that is used for taking measurements whilst cooking/baking and thought this would be a great idea to model. The first step was to create a circle on 3D CAD and give it a 400 radius.
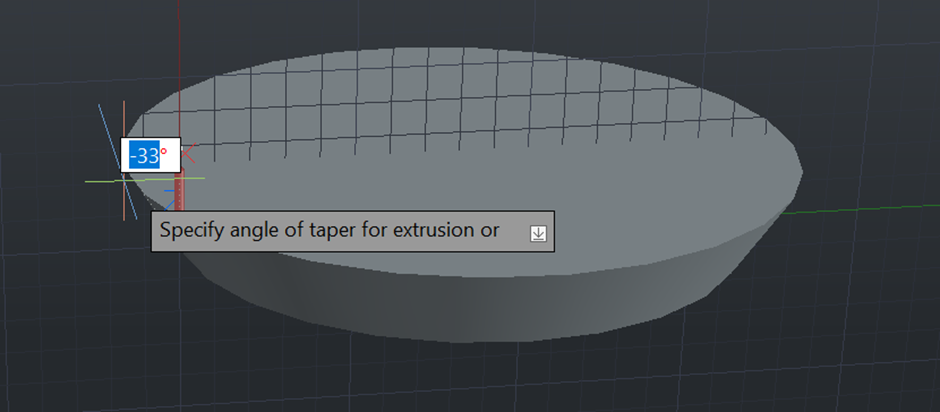
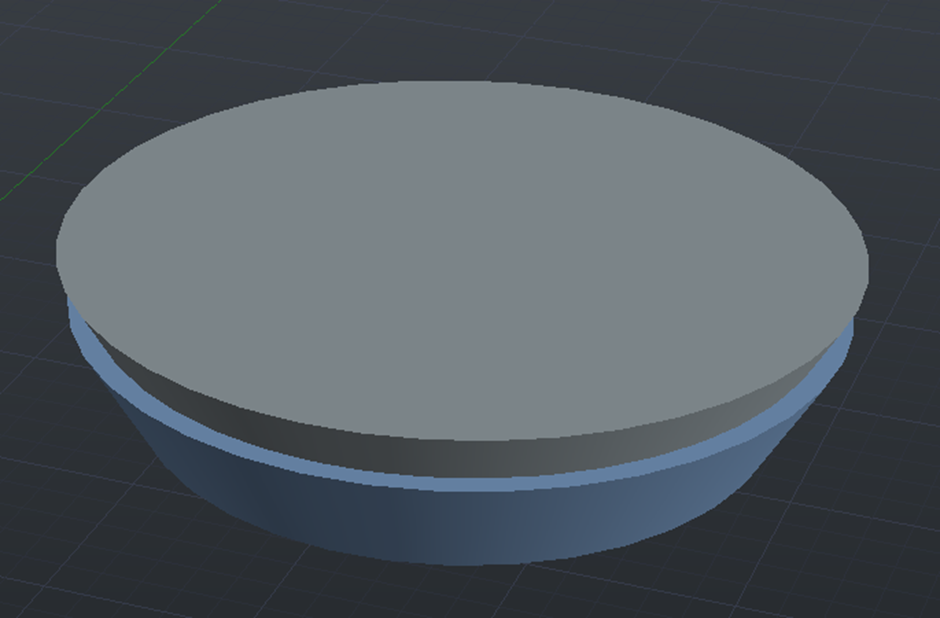
The next step would be to use the extrude tool and extrude it upwards by using the taper angle setting of the tool. I set the angle to -30 and raised accordingly:
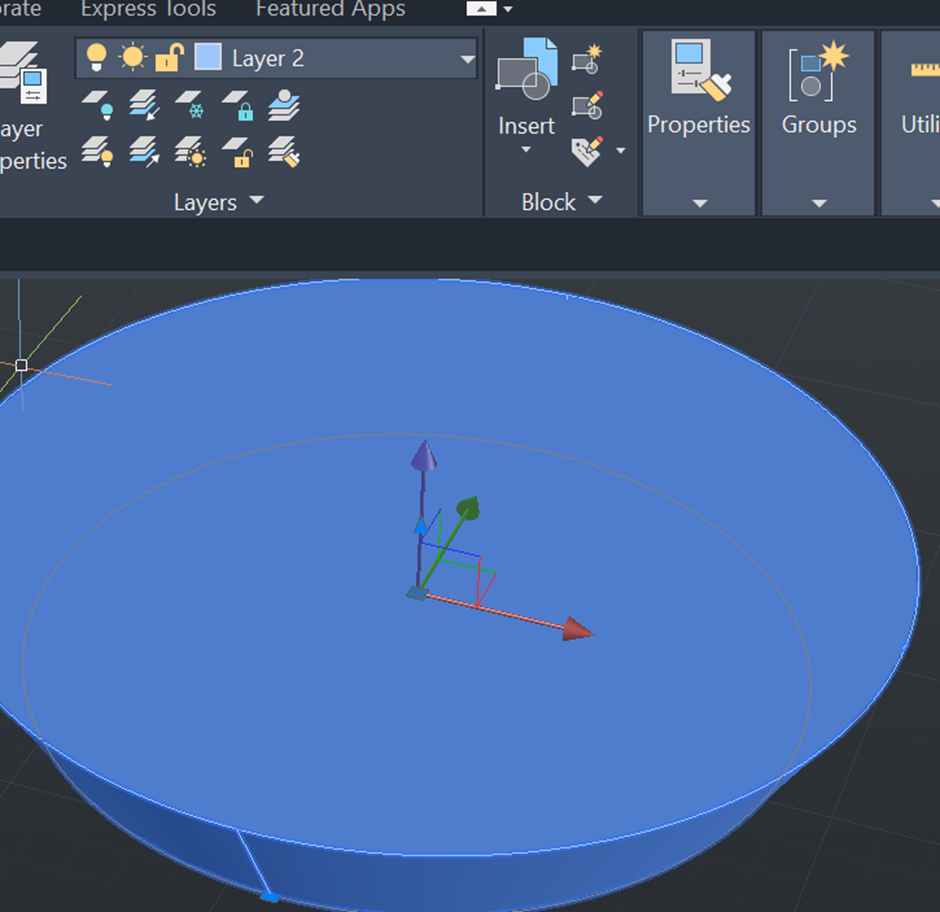
After this, I created a new layer and recoloured it to make it easily distinguishable.
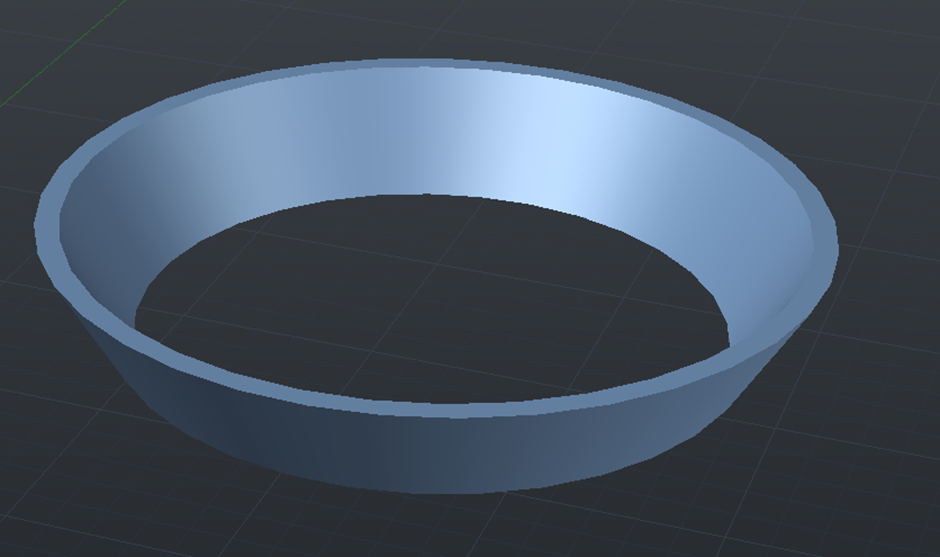
I then created a shape almost identical to the initial shape but 10mm smaller in the radius into the original layer and subtracted it from the original shape.
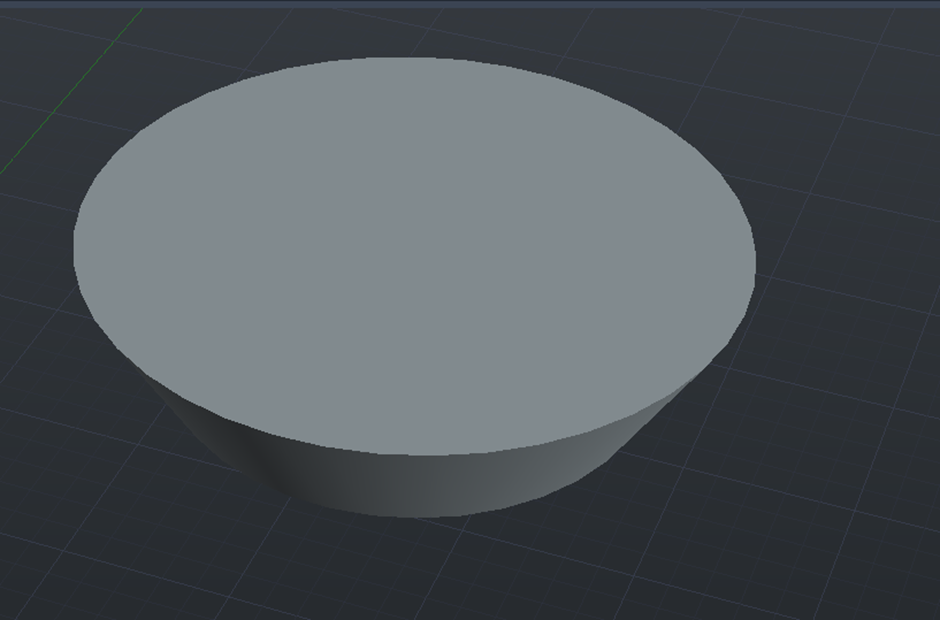
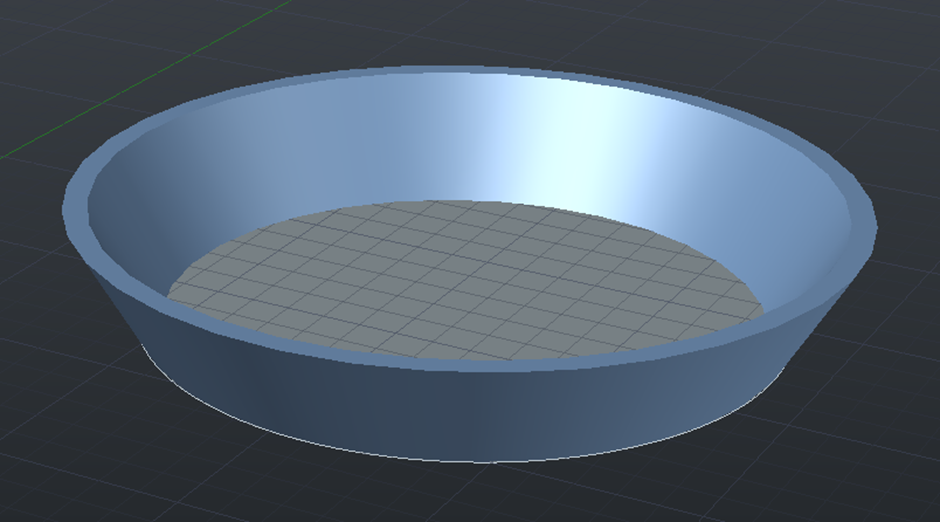
This left me with a hollowed out object with no floor to it so I used the surfpatch tool to fill in the missing area and extrude down by 20.
The next part of the model to create was the handle. To make this I simply grabbed the midpoint of the side of the shape and drew a line outwards and created an overall outline of the handle shape just using simple line tools.
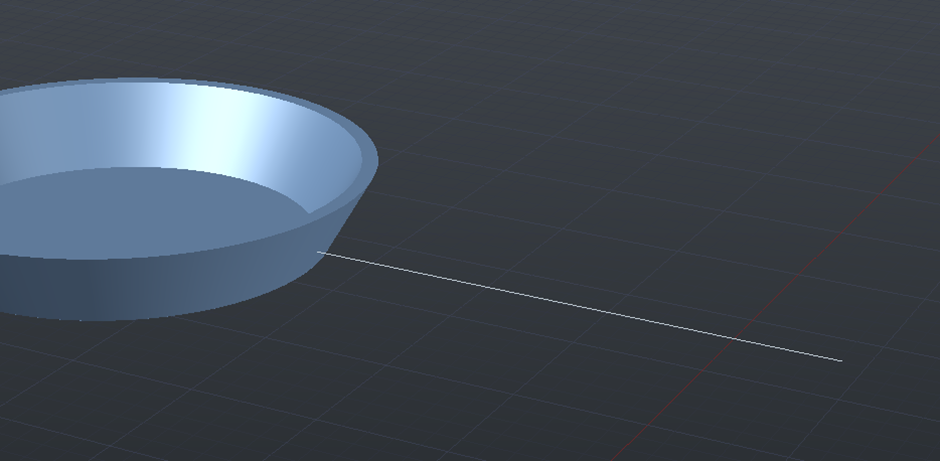
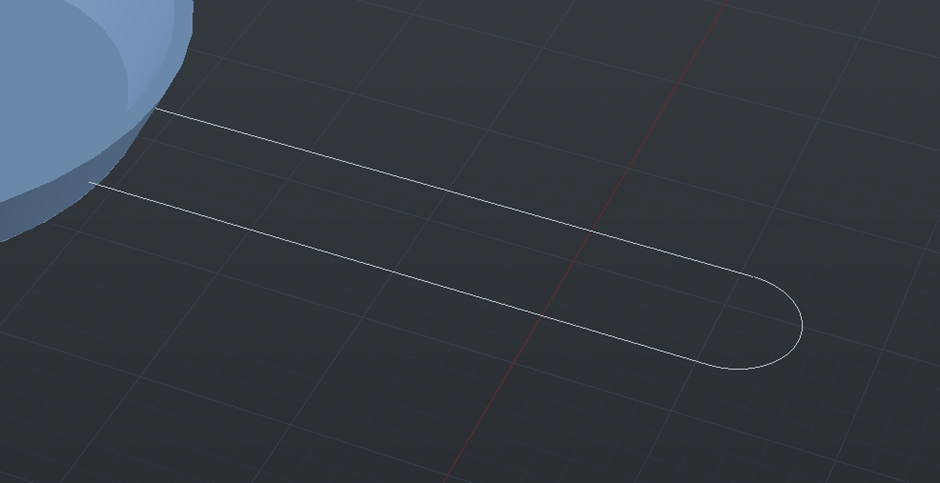
I then used the surfpatch tool again on the outline and extruded it upwards to finish the handle
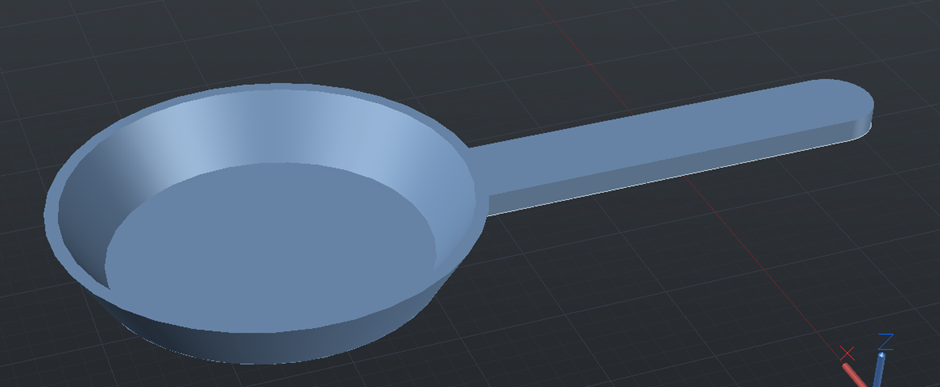
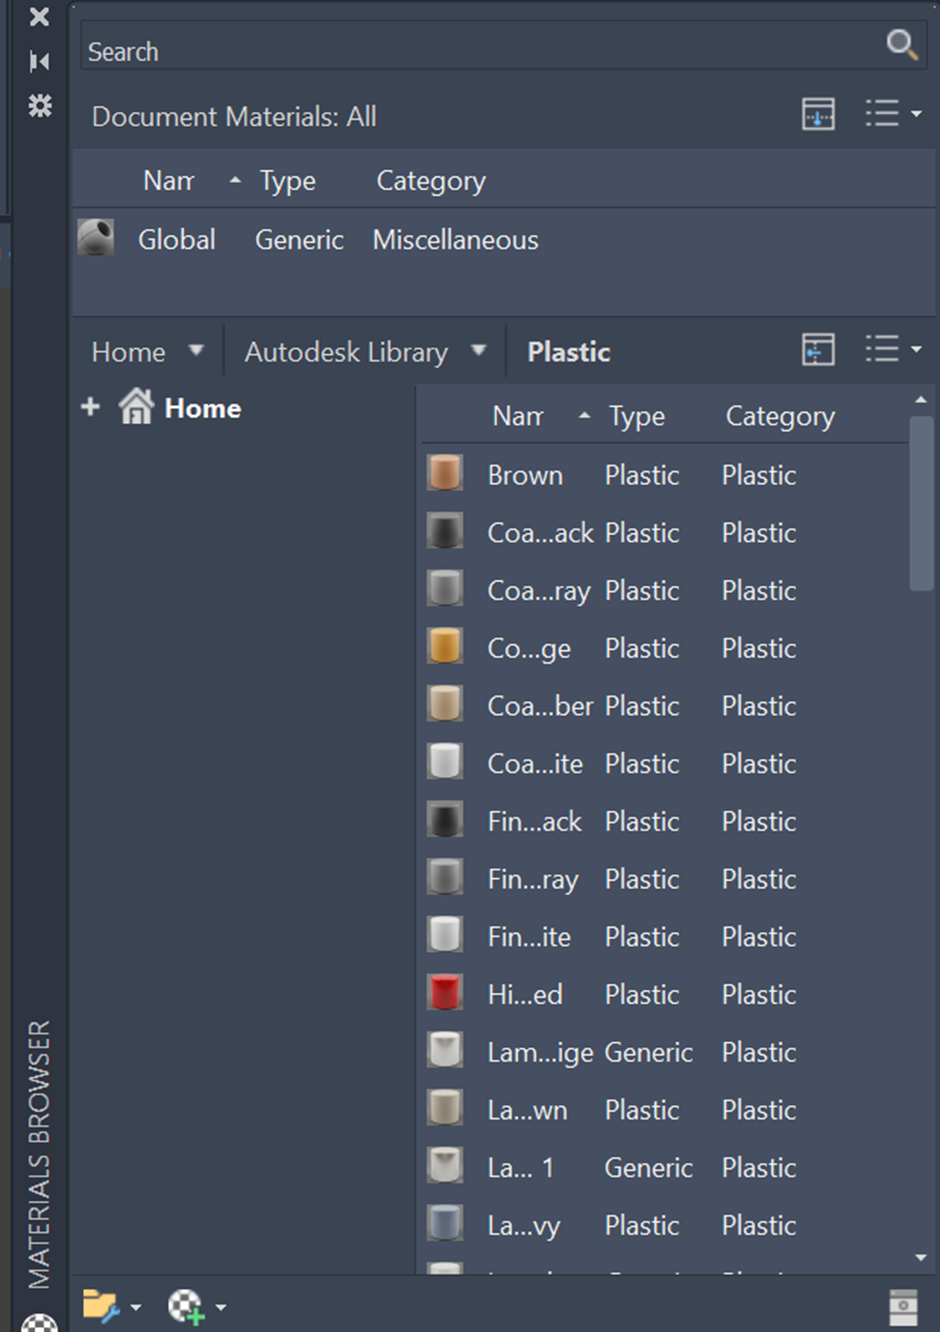
To finish this off, I opened up the material assign tool and searched for a suitable plastic before applying it to my finished model.
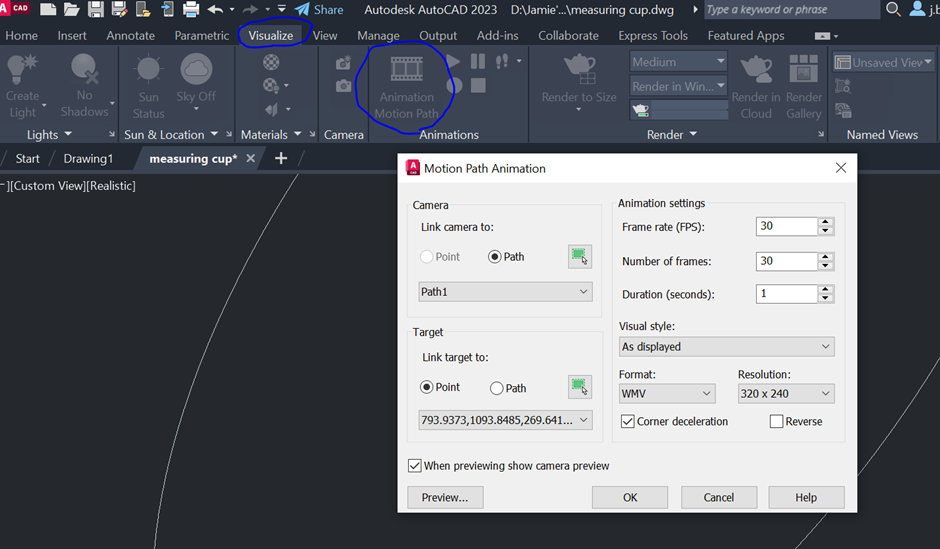
The next part of this task was the animation. To start this off, I went to the visualize tab, clicked “Animation Motion Path” and followed the pop up to select all the needed objects and animation path which was a circle I drew around the object giving it a very large viewing area.
Finally, I uploaded the file to a file converter to change it to an MP4. The final animation can be seen below: