The RSA brief 3 challenged me with creating an innovative idea that would influence positive behaviours within train stations. This brief is what I solely based my case study on and thoroughly researched to get an idea on why people may have a negative view on stations and if the location and size of station affected this opinion. In the end, my research and study concluded that smaller stations did have issues that larger stations did not suffer from. However, all stations did suffer from one problem in particular that I wanted this project to focus on. Below are the survey results for the biggest issues within each station from 90 surveyed people:
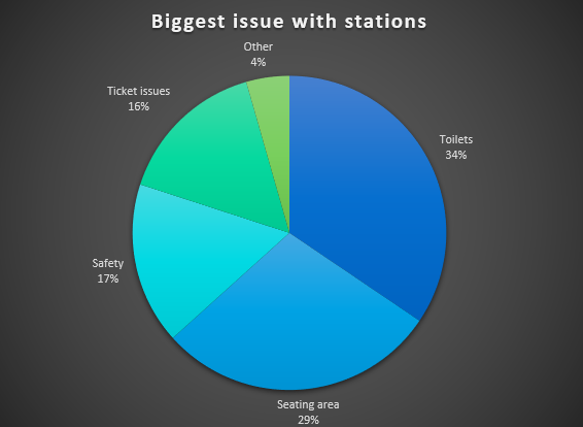
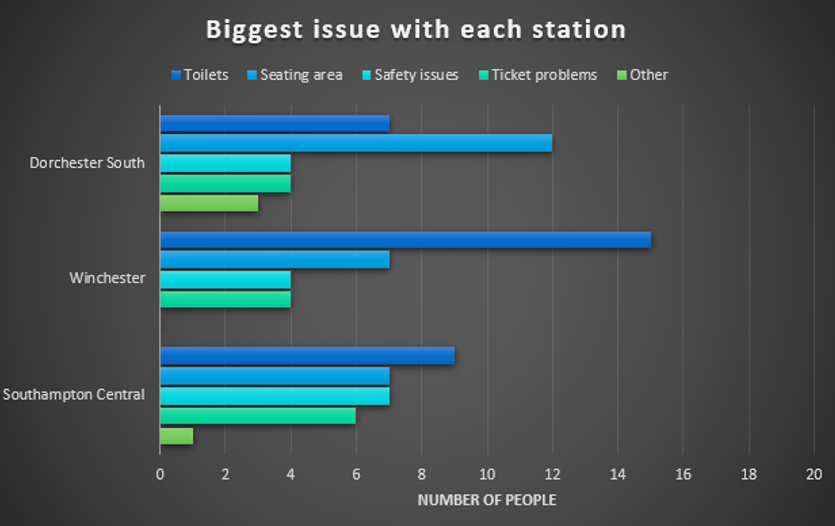
The most common answer shown was the cleanliness and availability of toilets. Using this information, I knew I had to figure a way to try and solve this problem whilst staying economically friendly and incorporating sustainability goal 3. After a lot of thought about how I could do this, I looked into how COVID and other illnesses may have affected this. By using this mind set, I came up with the idea to make an almost completely hands free economically friendly self-cleaning toilet.
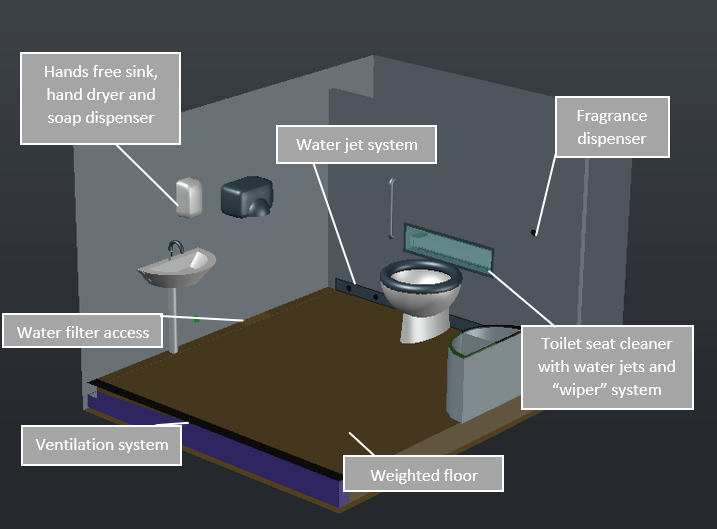
This idea would reduce risks of catching anything from general toilets, be completely disabled friendly and offer a 24/7 service for all stations. It could also re use some of the water used to clean with the use of water filters and planning. The other features I wanted to add include biodegradable washing fluids, a non-slip water permeable drainage floor (similar to that used next to a swimming pool), weighted floor to detect if there is a person present before cleaning, a fragrance dispenser due to complaints about the smell of station toilets, disabled friendly features and a system that would clean both the floors and the toilet seat after each use. I searched online for other self-cleaning toilets and noticed that other companies had incorporated some of these ideas but are missing some of the disabled friendly features and anti-disease catching methods (hands free technology).
I did take into account some of that the issues that may be raised by a self-cleaning toilet such as the 24/7 access maybe being taken advantage of. This problem could be solved by raising some sort of alarm or buzzer if the door has been locked for over 10 minutes. Another issue could be someone leaving an item behind or being inside the toilet whilst it cleans. To counter this, I introduced a weighted floor system that would be able to tell if anything over a certain weight was still in the room. By doing this, the toilet would not self-clean with anyone present.
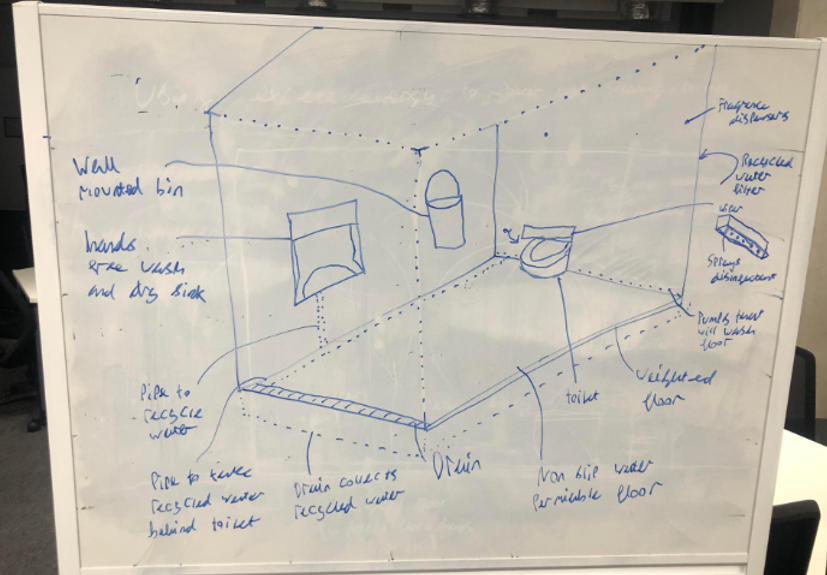
My first initial idea design drawing can be seen below:
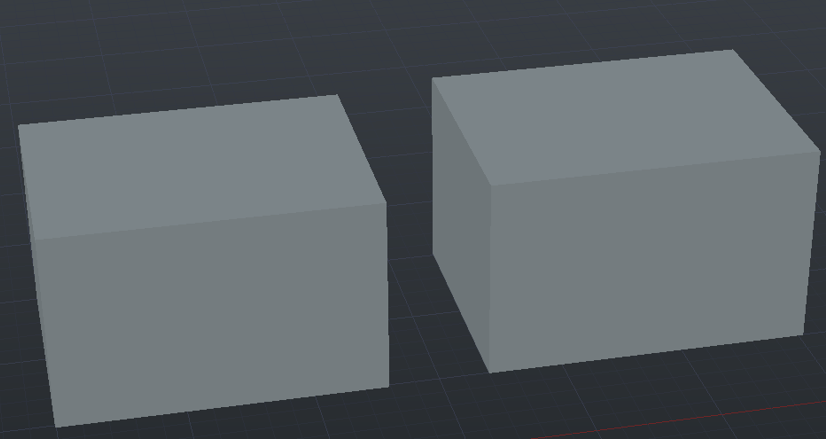
I also decided to turn this into a 3D model to show the design itself with more detail:
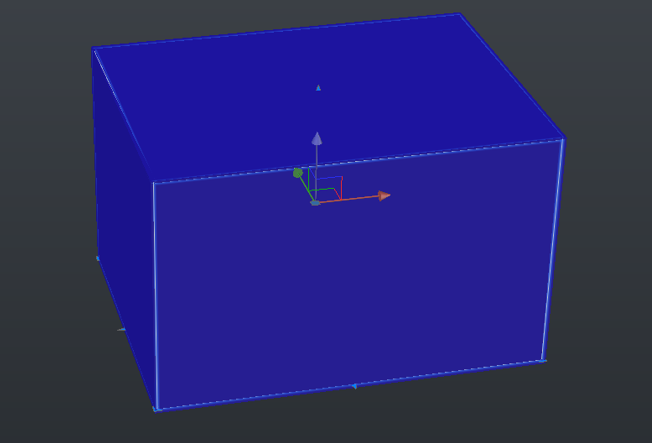
Firstly, I created two boxes using the box command. I made one of them 650x500x405 and one of them 660x510x415. I have done this so that I can subtract one from the other to create a hollow “wall” that I can edit the inside of.
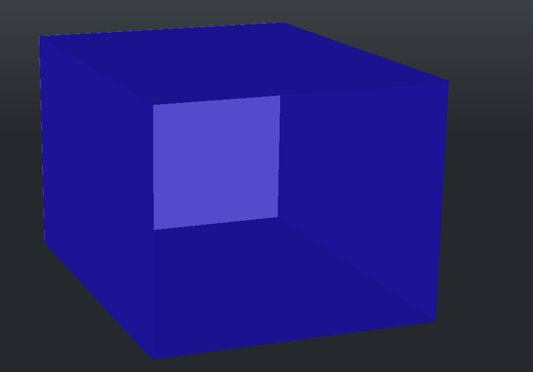
I then created a new layer for the bigger cube so that I could hide it while I put the smaller cube inside of it after creating a point that I could attach it to that is 5x5x5 inside the larger cube.
After this, I subtracted the smaller box from the larger one and then used the explode tool to leave me with all the walls/floors fully hollow and editable.
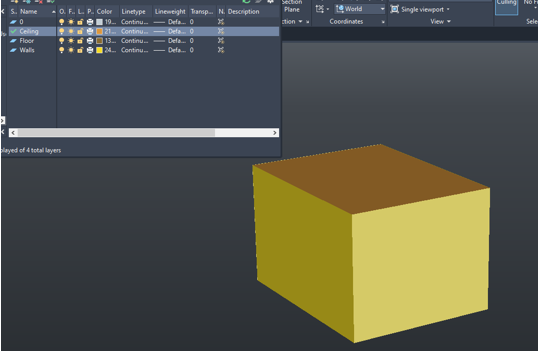
Next, I created layers that were similar colours and put walls, the ceiling and the floor into their own layer groups so they could be hidden/frozen at any point.
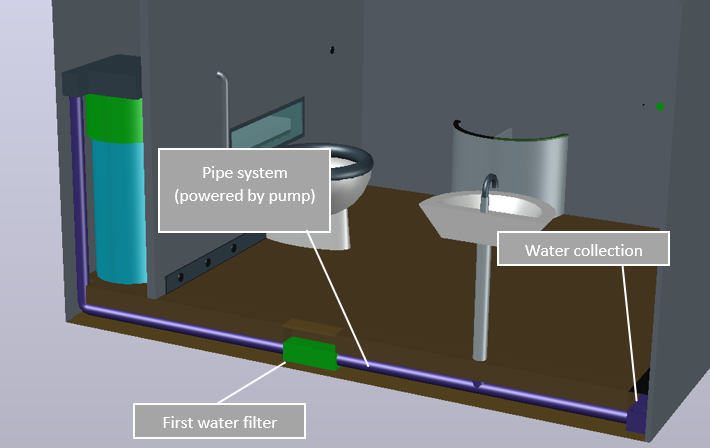
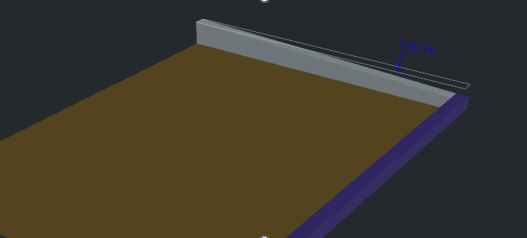
The first part of the model I decided to work on was the vent and recycled water piping system. To start this, I copied the floor from the model and created an outline for where the vent would be and inserted a wedge for the water to go along to get to the pipe as well as a pipe that would lead to the back of the room.
I then created a box to be subtracted from the pipe to show a point of entry for the water. As well as one to make the pipe completely hollow

Next, I input the water filterer. This was simply a matter of creating another box, subtracting it from the pipe and inputting another box the exact same size.

Finally, to complete the “underground” part of this model, I put in the scale floor so that it is not covering the pipe or vent system whatsoever. As well as as small hatch that can be opened to access the water filter.
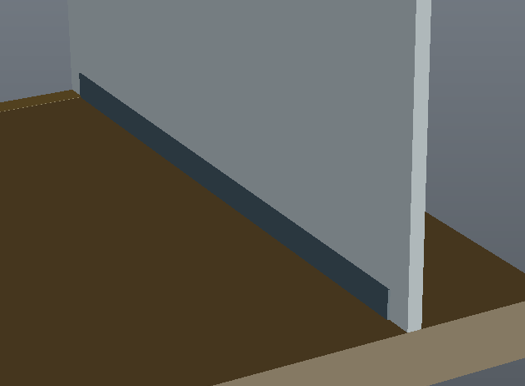
To start off the ground floor, I first inserted a wall in which all of the cleaning supplies and water is kept as well as linking the pipework up by making it extend upwards.
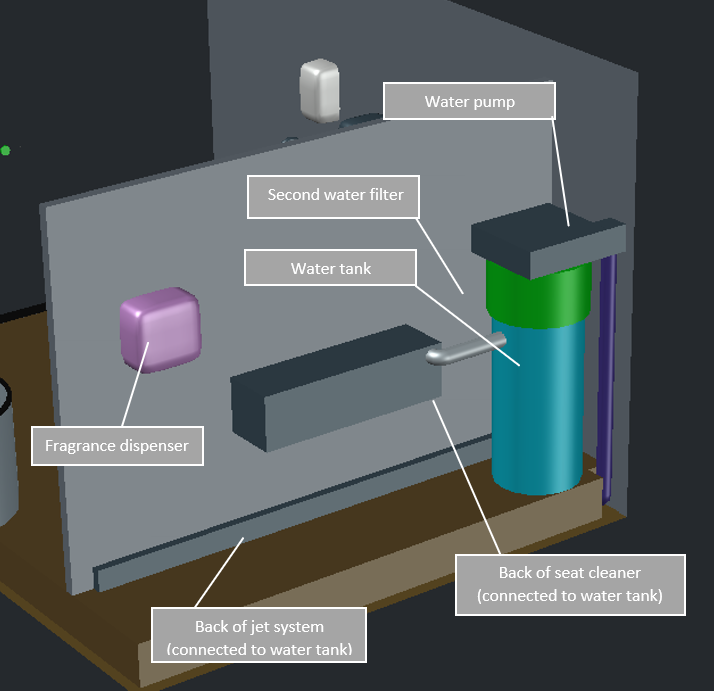
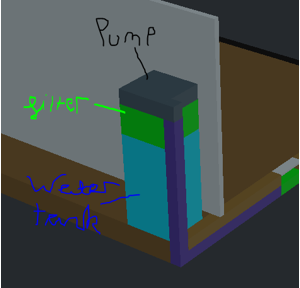
The next part I added was the water tank as well as a second filter and a pump to get all the water to the tank. To do this I just used the box tool to create the layers as seen below:
I also knew I had to insert the water jet pumps that will clean the floor.to do this, I simply created a long rectangular box that measured accurately and inserted it in front of the tank and extended it so that it was colliding with the wall that separates the back of the toilet to the main bit and subtracted from the wall itself.
I also created a pipe that connects the water tank to the pumps
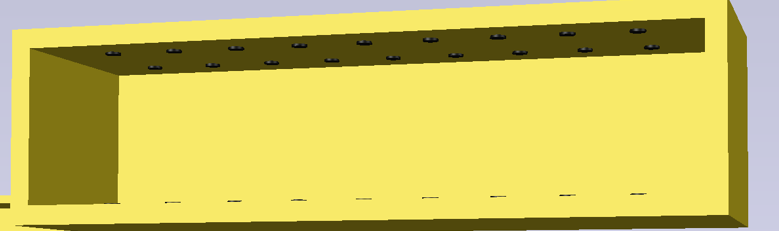
The next step was to create the jets that come out of the wall. To make this, I drew a rectangle around the pump and took it to the side and measured out where the pumps would go whilst leaving a gap in the middle for the toilet.
I then used the cylinder tool to create the jets before copying them over to the model.

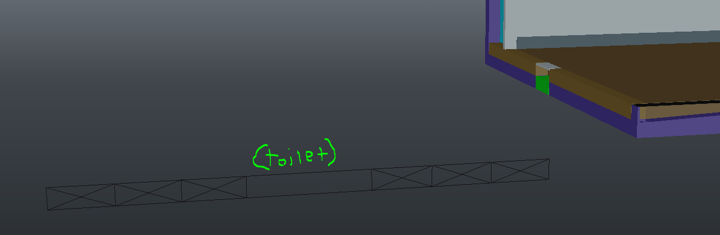
The toilet had to be created next. This was a bit tricky. To start off I used the template for the pump to get a size of the toilet and then added in the height. By doing this, it gave me an estimate on how big I could make the toilet as well as give me an area that I can work in.
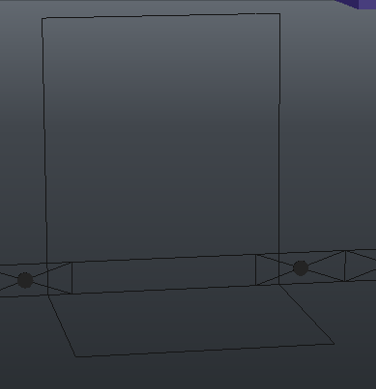
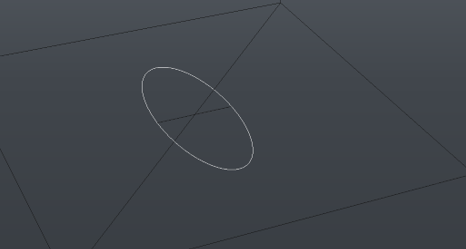
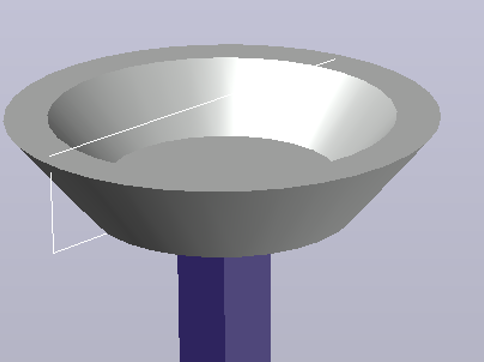
I copied this over to the side and started on the base of the toilet. To do this I used the eclipse tool on the centre of the square I set out.
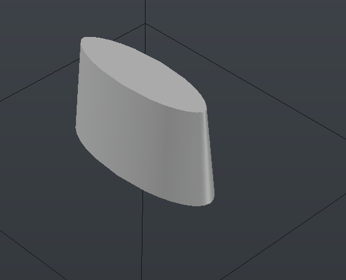
I then used the extrude tool and tapered the angle to leave me with this shape.
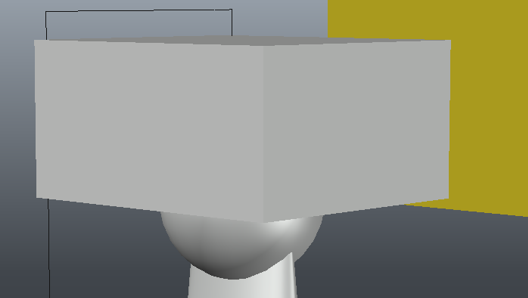
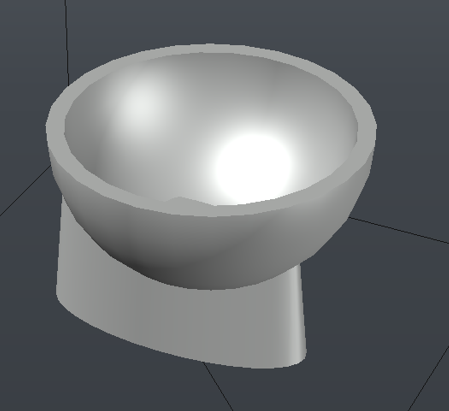
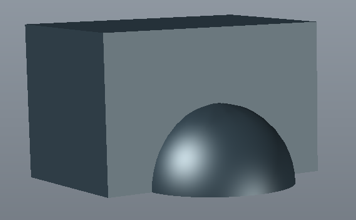
The next part was the bowl. To create this, I created a sphere atop the base and added in a large box that will be subtracted.
I then used the shell tool on the remaining half sphere to create this:
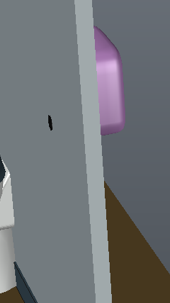
I now had to create the seat. This was fairly simple as I just used the Torus tool to create a ring around the bowl and then add the radius.
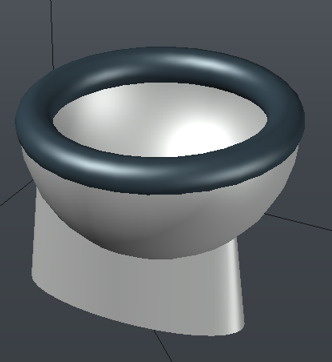
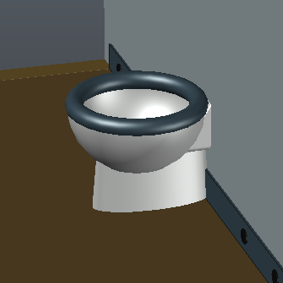
I finished off by creating a smooth wedge and inserting it at the back of the base so that the toilet looks a bit more realistic and has more support and then copied it all over to the main model.
Next came the sink. To begin this, I created a pipe that would connect to the pipe underneath the floor, ensuring that the water from the sink can go through the filter and be used for cleaning.
I drew two rectangles at the top of the pump as well as two circles. This will be the very basic template for what would come after.

I extruded the bottom circle into the top circle using the taper angle selection before using the shell command to make it into a bowl. I also moved the bowl slightly forwards as I will need to create the back of the sink.
To create the back of the sink, I subtracted half of the bowl and drew a polyline over the shape that remained whilst filling in the back “wall”. I then used the planar tool to fill in the object and extruded it back.

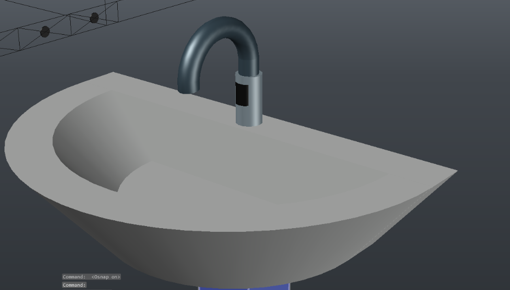
To finish off the sink I created the tap. I wanted this to be completely hands free so I just created one tap with a default heat that will be activated by censor. To do this was quite complicated, I had to create a circle as well as a polyline path that the extrusion would follow.

With this done, I extruded the circle on the path and added a censor by creating a larger cylinder around the initial path and then creating a slightly smaller cylinder and bringing it forward.
I then looked back at the model and realised I wasn’t really happy with how the pipes looked. I decided to do something about this so I copied the pipes over along with the floor and transformed them into cylinders using the circle and extrude to path tools:

I then put my adjustments into the correct layers and copied it to the main model as well as editing the sink pipe and connecting it.
I then decided to create the dryer. I did this by creating a box and a sphere and then joined them together. I then converted it to a mesh model which left me with quite a nice looking dryer.
To add this to the model, I showed the wall layer and placed it, so it was mounted to the wall. I also added the soap dispenser as this was just a smooth box mesh object.

The next part to add was the freshener dispenser. This would keep the bathroom smelling fresh constantly. I made this very easily by inserting a box on the other side of the wall and a hole connecting the box to the toilet.
I also added a disability railing. To do this I copied over two curved pipe pieces and connected them with a cylinder before changing the thickness and adding it to the back wall.
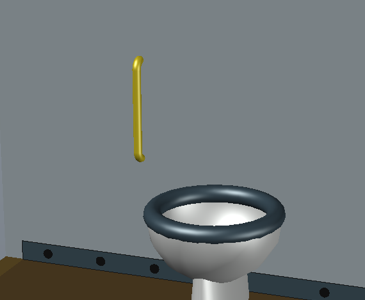
The next part I had to add was the “wiper” function. This would clean the toilet seat after every use. To create this I required a long bar that would wipe the seat every time as well as a “sanitation” box that would clean the wiper after usage. I started this process by inserting where the sanitation box would go (just above the toilet).
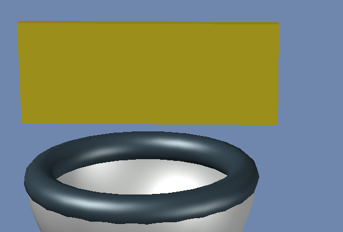
I then created a smaller box inside of this and subtracted it from the wall.
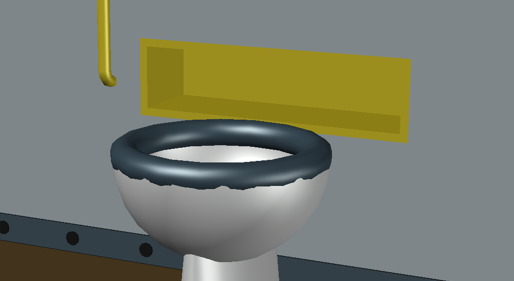
I decided to move this over to the side for now so it would be easier to work on. I then started work on the “wiper” itself. To do this I created a cylinder and cut it so that it fit neatly in the side of the box behind the toilet. I then attached a box to it and filleted the sides.
The next part would be to add the sprayers on the underside of the wiper and the sponge at the front. The sprayers were simple as they are just holes that can be added in and the wiper sponge is just a cylinder that is cut and runs along the bottom of the wiper.

With this complete, I flipped/rotated it so that it was ready. I also had to make sure that the “sanitation box” was also ready. This required putting sprayers on the ceiling and floor of the box
I copied over this version of the box before finally putting it in the correct layer and added in a small glass sheet that would lower to let out the wiper when needed.
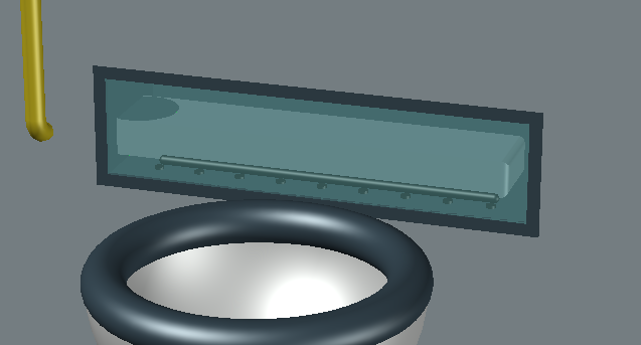
I also connected a pipe into the back from the water tank.
The next thing I did was create a bin. To do this, I used the oval tool and extruded it up before subtracting away a cube to half it and then a slightly smaller version of what I had left so that it was left hollow. I also added a small wall in the middle to separate recycling and general waste.

I then exploded this object and copied the top semi-oval before splitting it in half. I then copied this and rotated so I could place it on top to create the two bins. I then moved it to the model and placed everything in the correct layer.

With this being done, I showed the walls again and recoloured the layers to be more realistic.
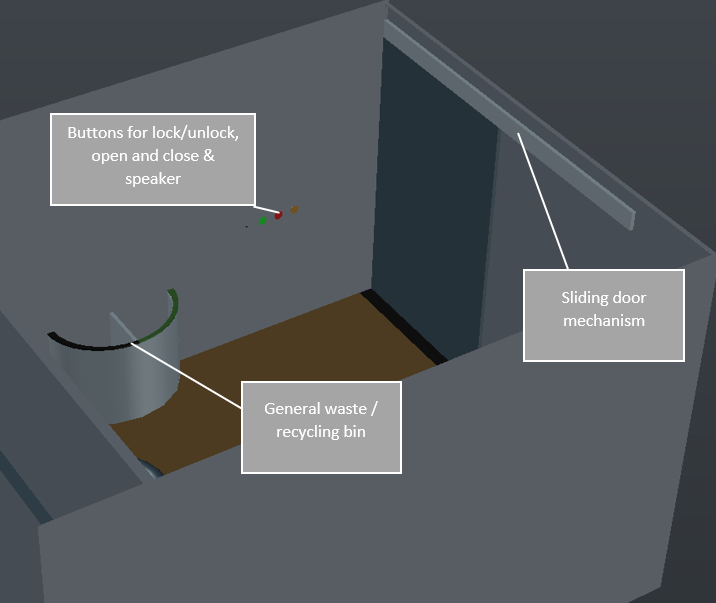
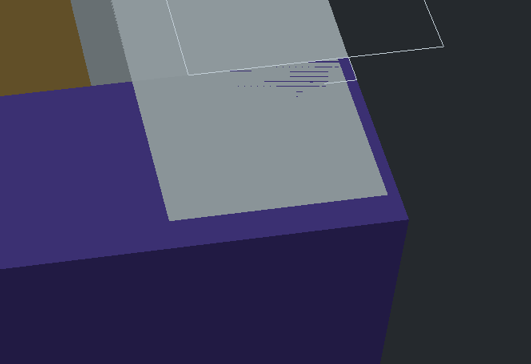
The final part to add was the doors. I wanted to avoid handles where possible so as my design choice, I decided to use buttons similar to those used on trains. This would also assist in making the toilet more disabled friendly. To begin this, I searched for the regulation size for a disabled door (950mm) and inserted a block of this size.
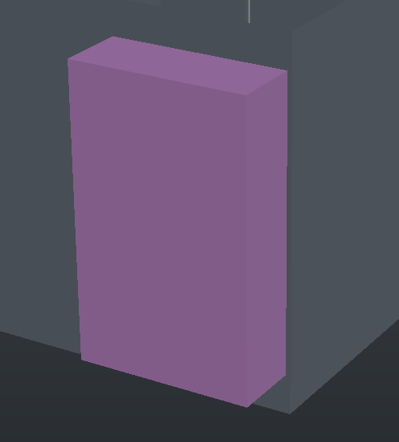
I then removed this from the door with the subtract tool and copied the block to the side.
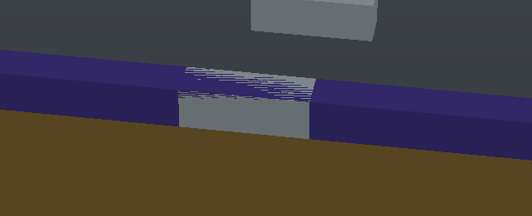
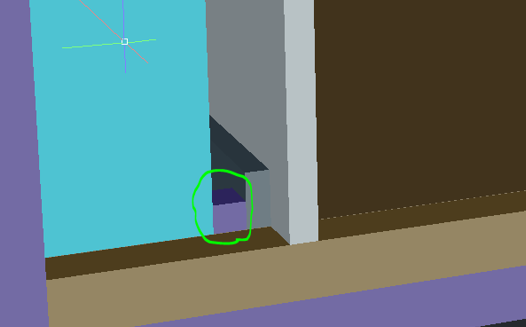
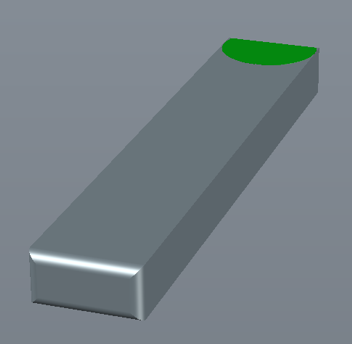
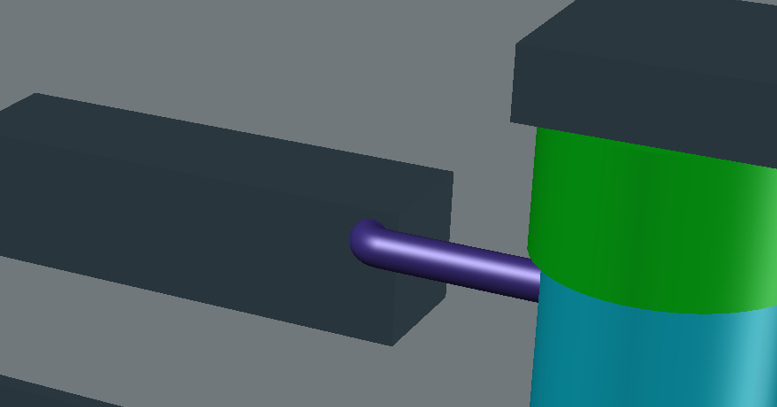
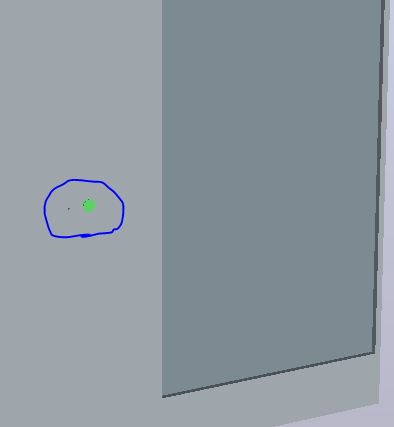
The next stage was to create the door mechanics system. I did this similar to how an automatic sliding door would work by adjusting the door block to the right width and placed it slightly behind the door area that was freed up. It was then a matter of putting a sliding mechanic alongside the wall on the back side (represented by the green area).
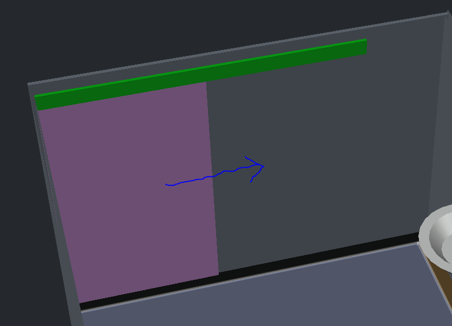
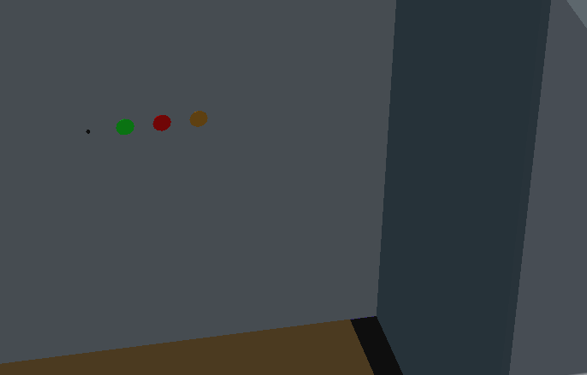
To finish the door system. I inserted one button on the outside to open the door that would light either green or red depending on occupancy. In addition to this, I added a small speaker that would play a sound to indicate that the door was locked. This would assist those with visual disabilities.
On the inside, I added an open button, a close button and a lock button. Similar to the outside, I would add a speaker that would play a noise to indicate being locked.
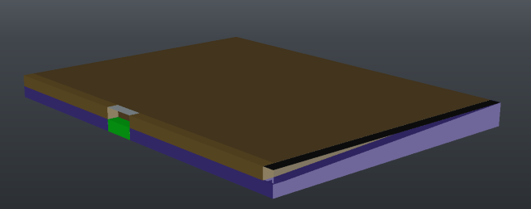
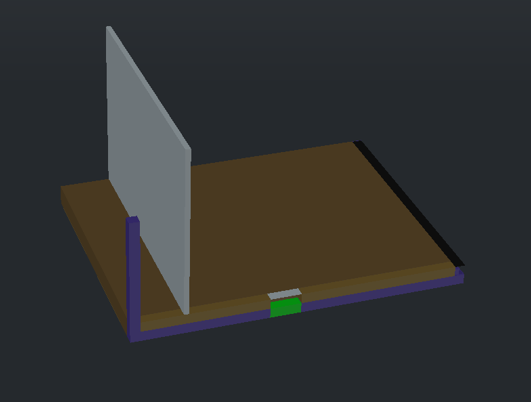
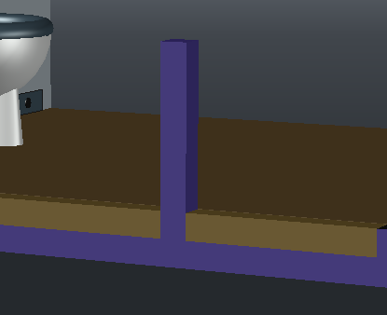
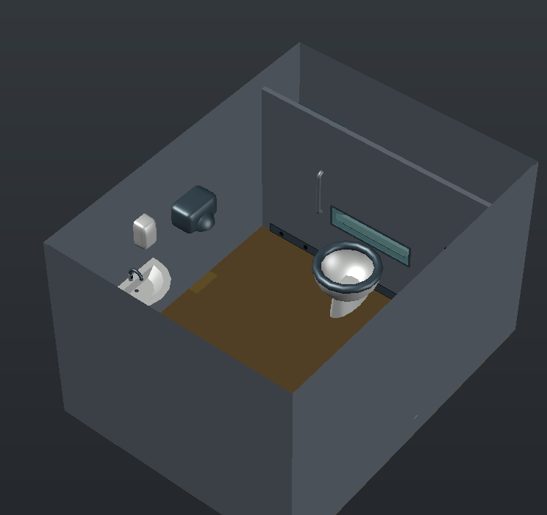
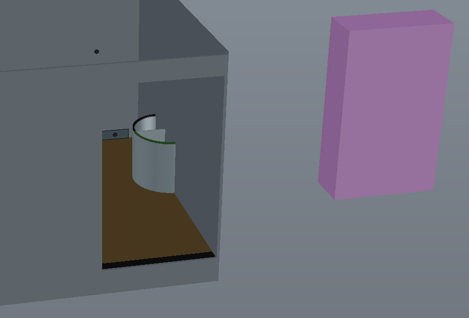
With all of this finally being completed. I inserted a placeholder floor just to show how the toilet would fit on the ground. This just shows that some of the building is slightly underground.
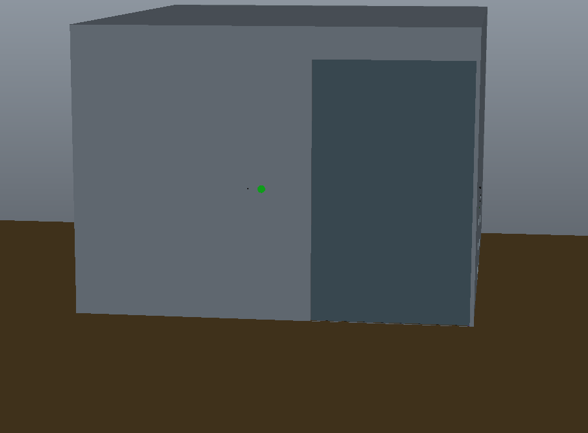
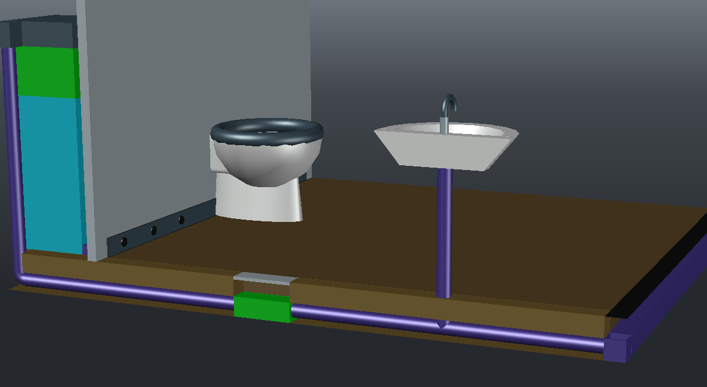
Below are the final photos of the whole model: